Step By Step Van Build
We are all asking the same questions. How to even get started with van life? Well this blog post is going to be steps to if your doing a DIY build. Not if your having someone else do your build for you. Yup this is all on you. All the planning and building and doing the problem solving yourself. This post is going to give you a guide on some steps to take and some advice Logan and I have learned with doing our own build. We also have a podcast episode about this so if you want to check it out here you go. Free to roam podcast
Steps for DIY Build~
Test it out
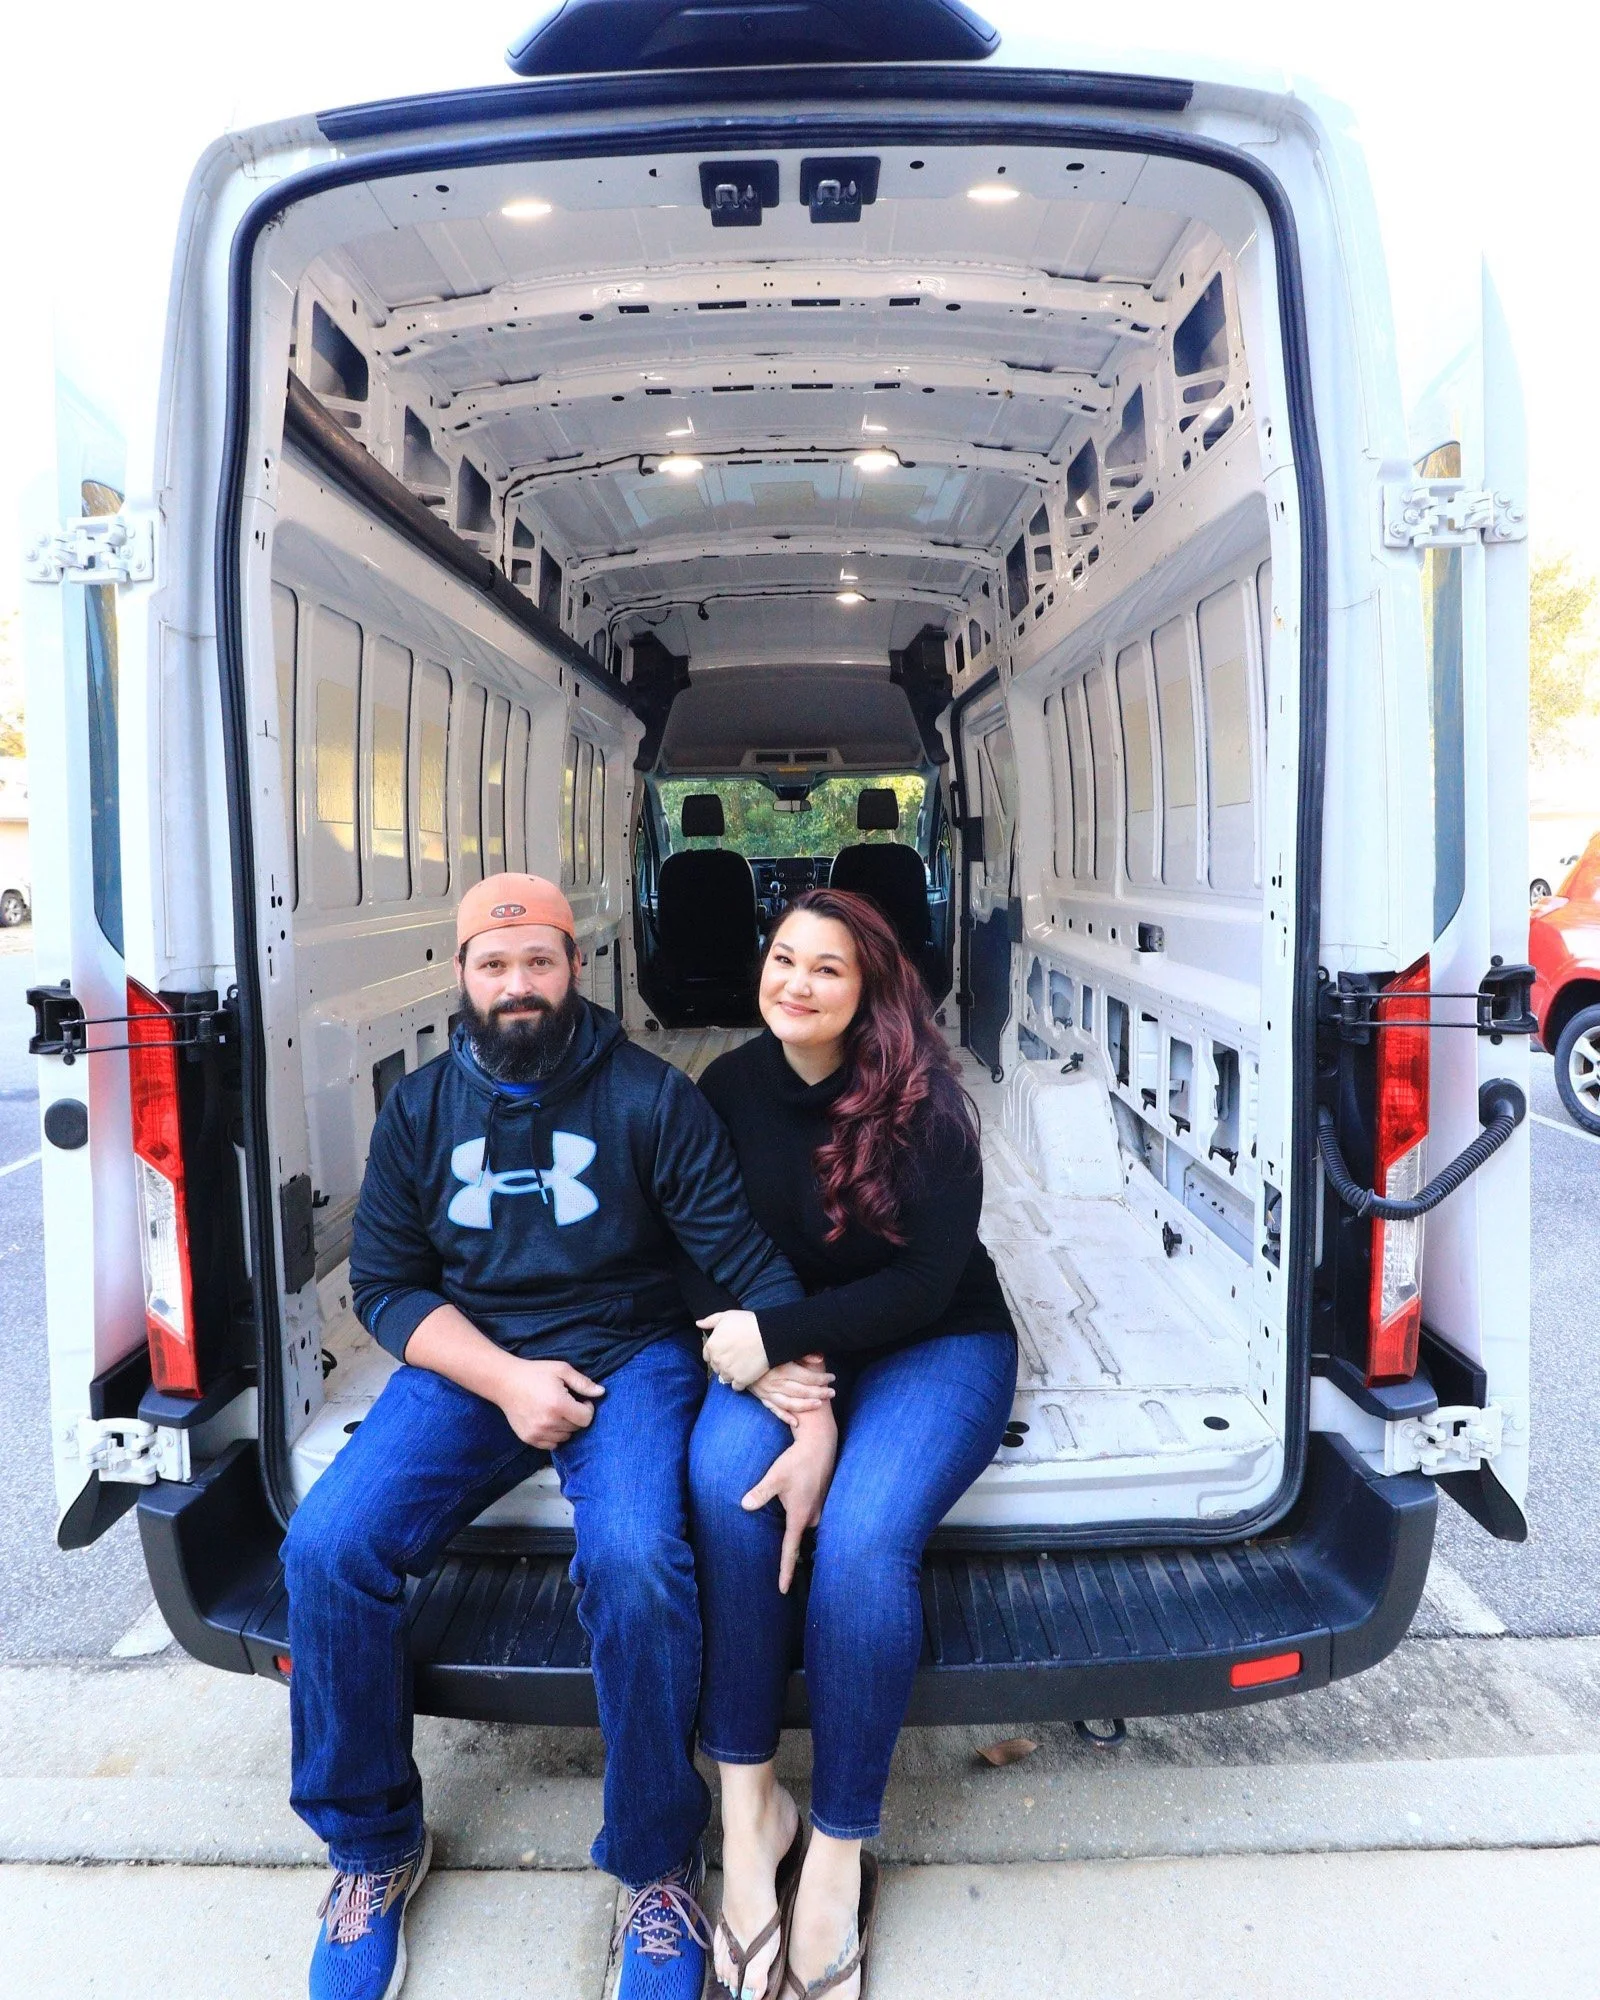
Buy your van
Clean and do rust prevention if needed
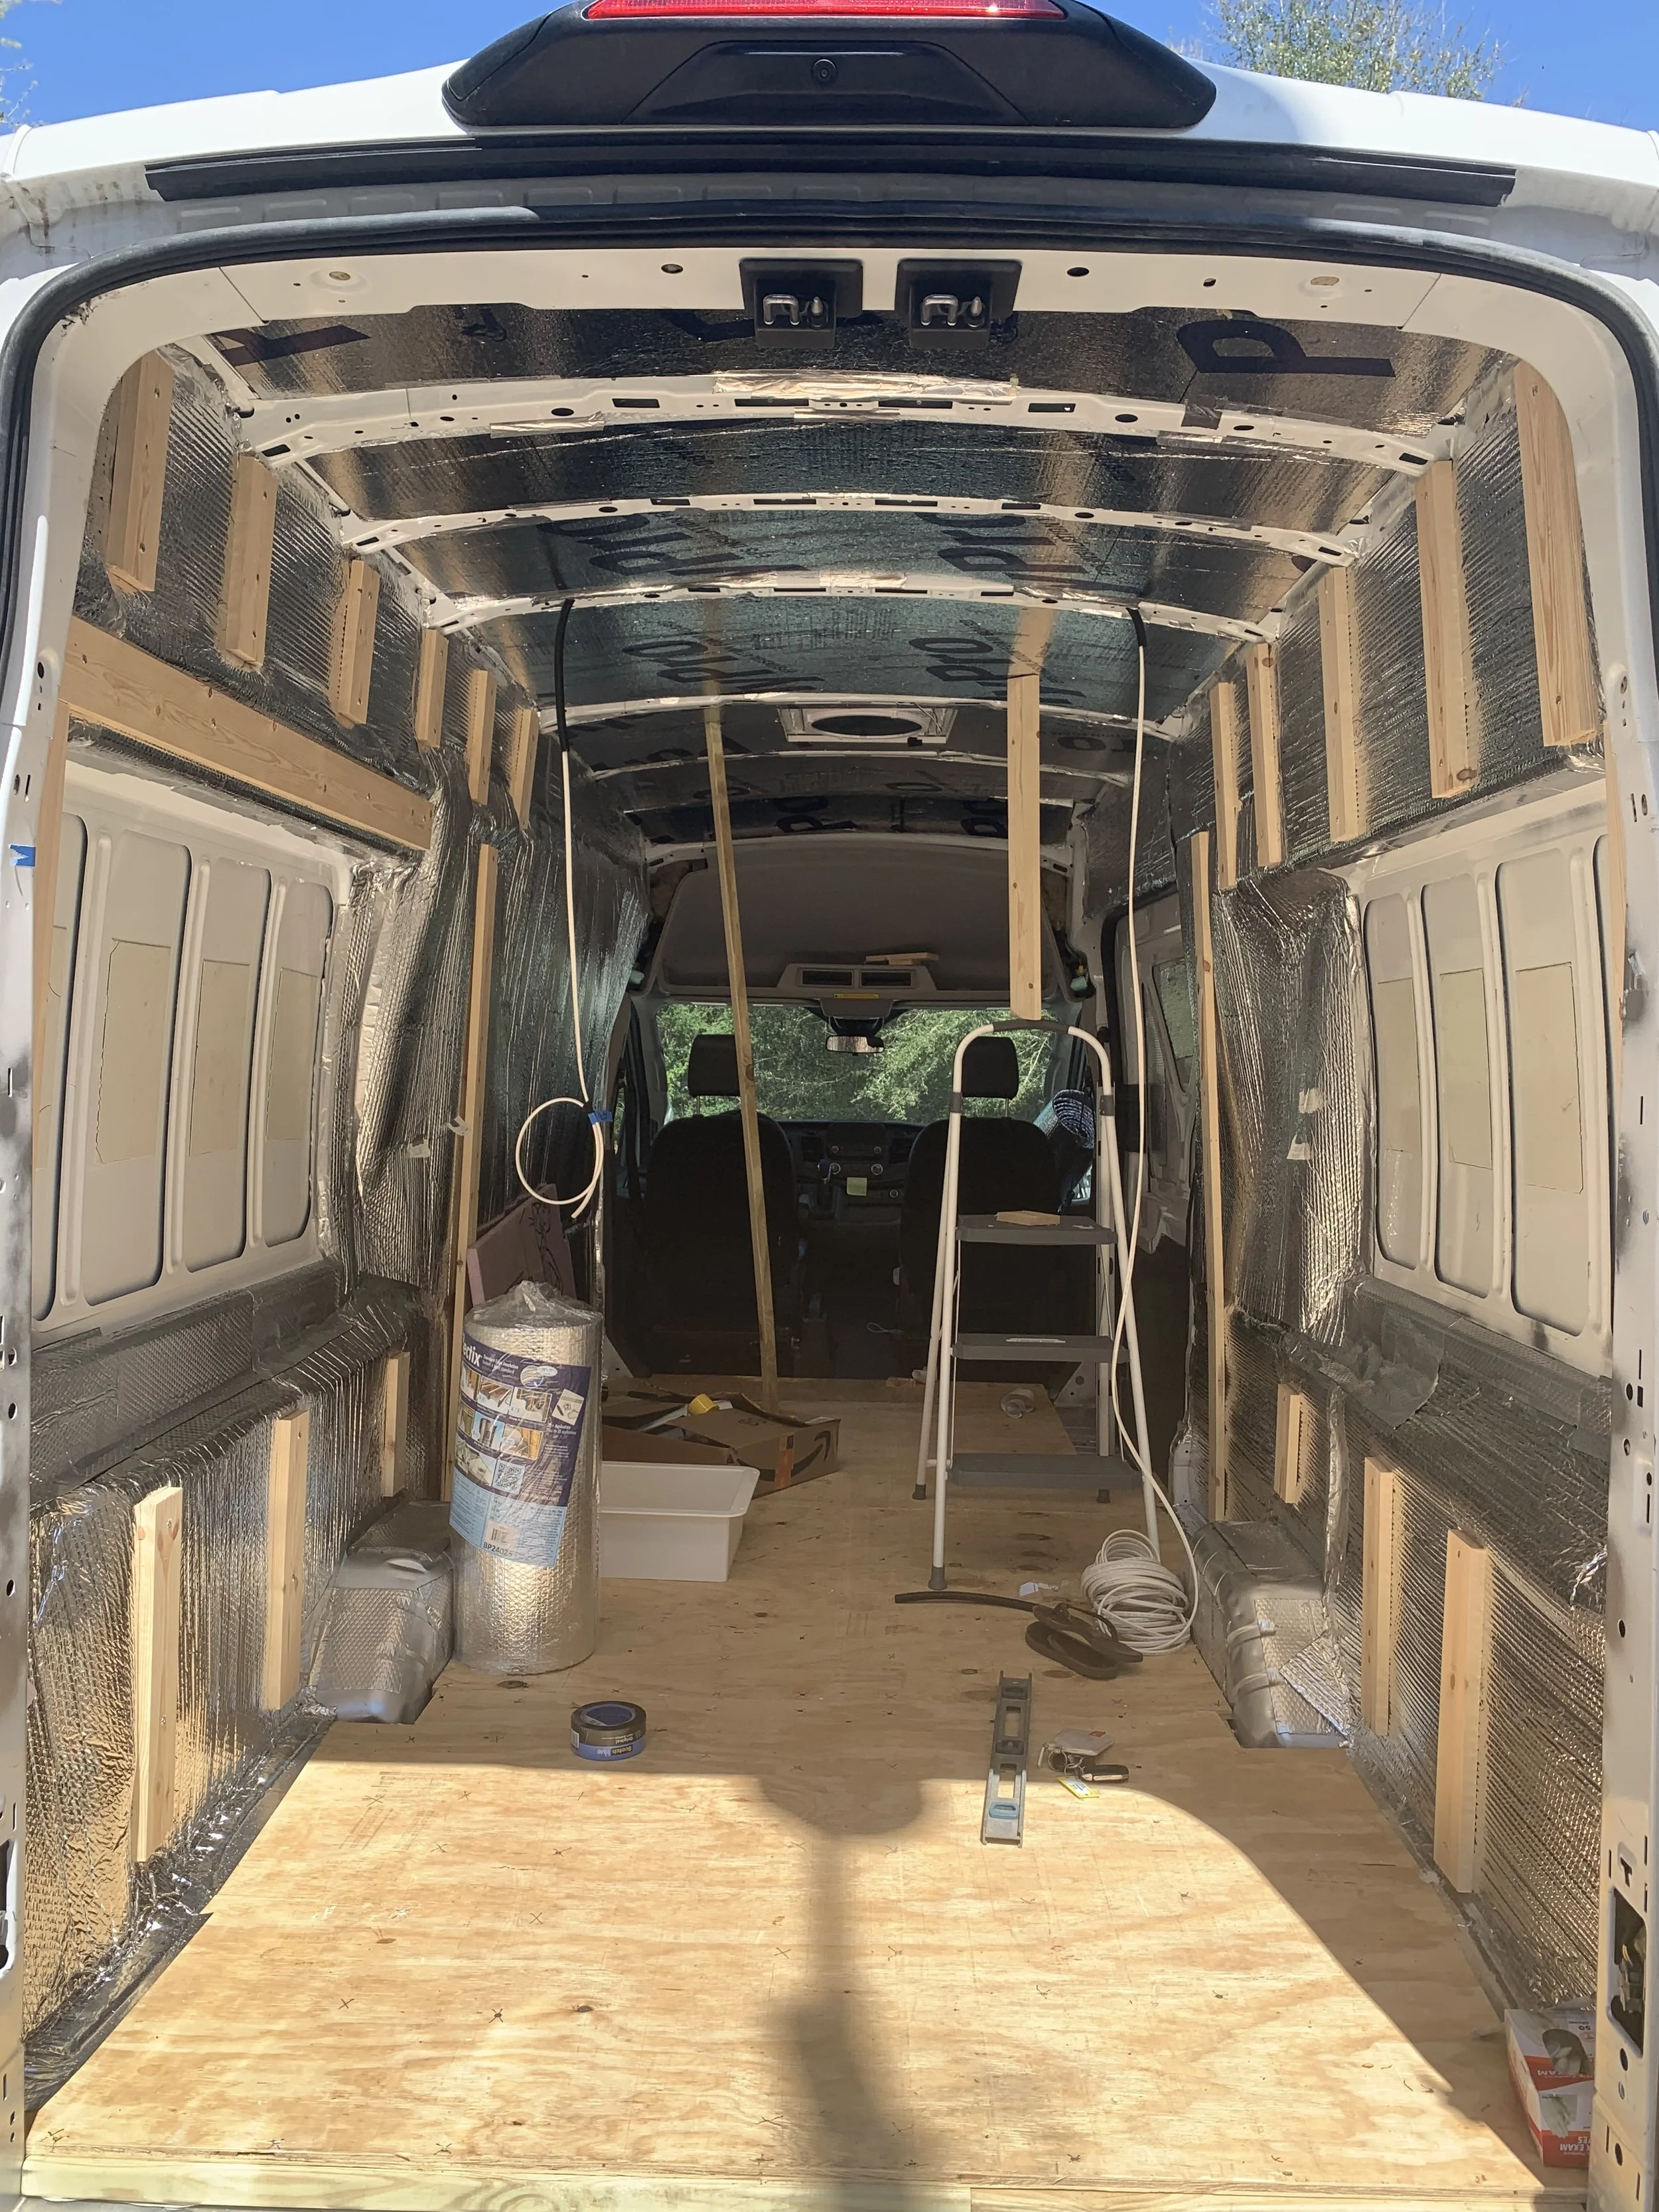
Sound deadening
Plan your layout
Cutting holes for windows, vent fans, AC, skylight…
Insulation
Furring strips
Pre wire
Framing for shower ( if needed )
Start building upper cabinets
Put up ceiling
Start building bed frame
Start building kitchen ( sink & cabinet, kitchen counter with drawers)
Run plumbing
Walls
Electrical and Solar
Final touches
Ok so now that you have some what of a guide this may make it easier to do just one step at a time rather than you looking at a huge empty van and instantly being overwhelmed. My advice is just take it one day at a time and one task at a time.
Step 1- Buy your van
This step is obvious but you have to pick your van. The top 3 are Mercedes Sprinter, Ford Transit and Dodge Pro master. These are just some options and they all offer different things.
Step 2- Clean and do rust prevention
Now this depends what condition your van is in when you bought it but I recommend at least taking a soppy rag and just taking the dirt off of the walls and maybe putting a coat of rust prevention on the metal of the van before anything else.
Step 3 - Sound Deadening
This is a step that many people will argue if its important or not. Sound deadening is a product that you can stick everywhere you want on your van to help with the travel of sound. We put it on the walls and ceiling of the van. You can definitely hear a different when you tap on the walls in places where we put the product and where we didi’t.
Step 4 - Planning your layout
This was the fun part for me. Now before we bought our van we already had an idea of our layout but that’s because I did research for a while before we bought the van. This step is very Important because you have to have what you want your van to look like and where things will be. Now for example our shower in our van is where it is because that’s where we could drill a hole in the van to put our gray water tank under the van. So the placement of the shower really had to be planned out and this is why planning and having a layout is important . Online and on social media you can find many different layouts that you can actually see in a van.
Step 5- Cutting holes for windows, vent fans, AC, skylight
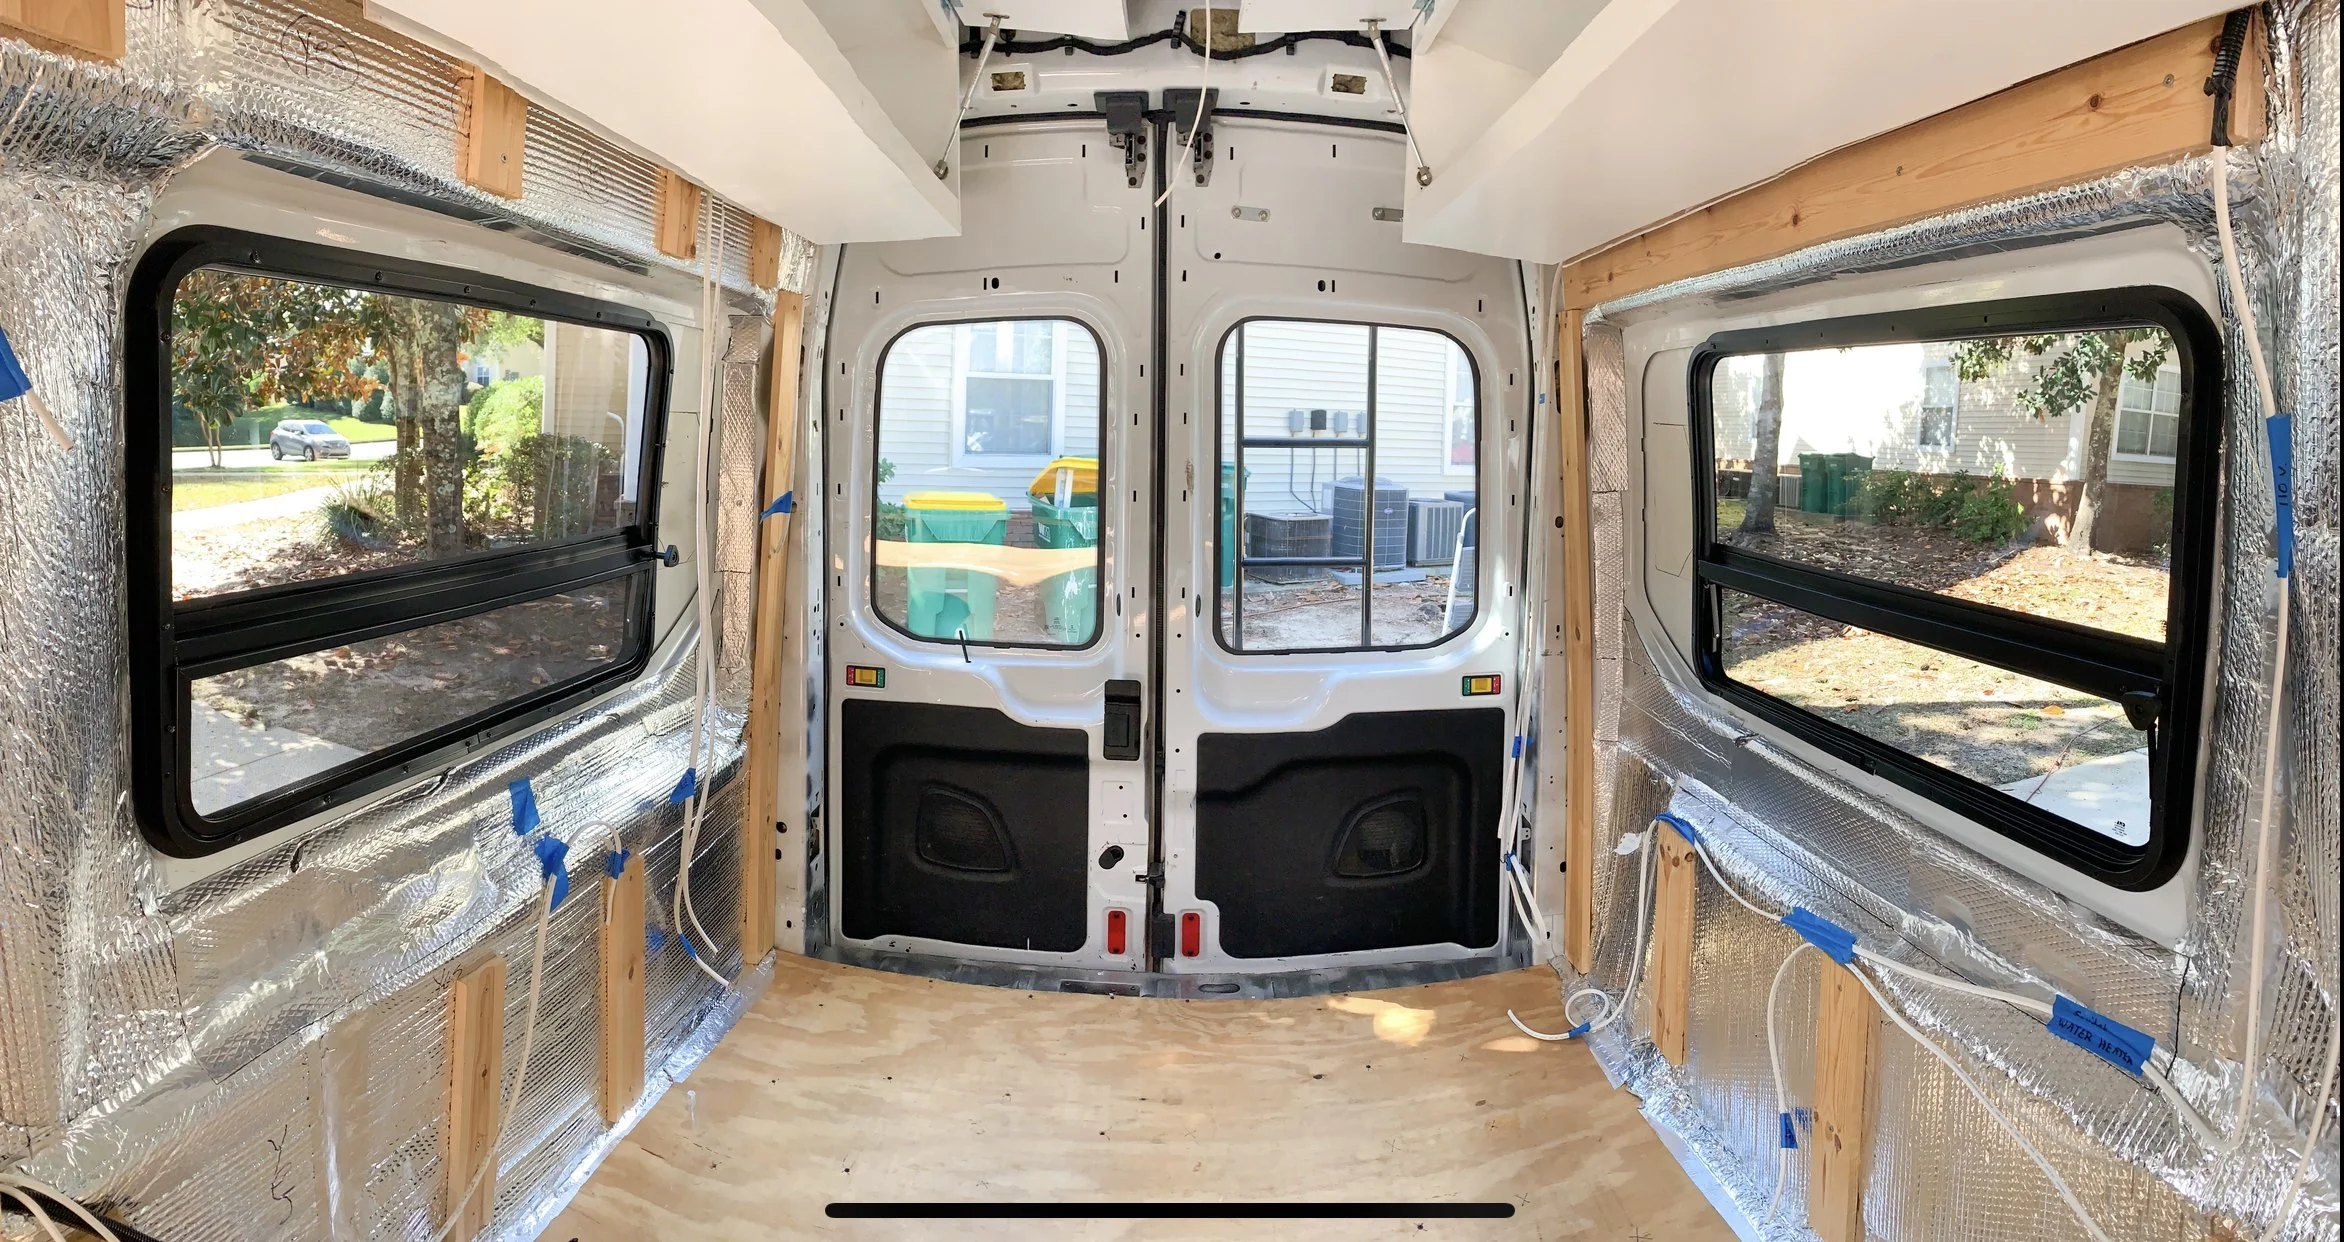
Next thing to do once you have your layout down you now know where your windows, vent fans, AC and or skylight will be. This step is also important because its now time to do the scariest thing you will ever do with your van. CUTTING HOLES! Yup you will have to cut big holes either on the side for windows or the top for all the other things you will want. The best thing I can say for this is measure measure and remeasure… and have a fresh blade and where safety glasses. This was so scary for Logan and I because we have 2 huge windows on each side and vent fan on the roof but you can do it. If we can, you can. This step you want to do before any big building or walls is done because you don’t want get the metal shavings on anything and it would be a lot harder to cut holes when you have some stuff already build and in the way.

Step 6- Insulation
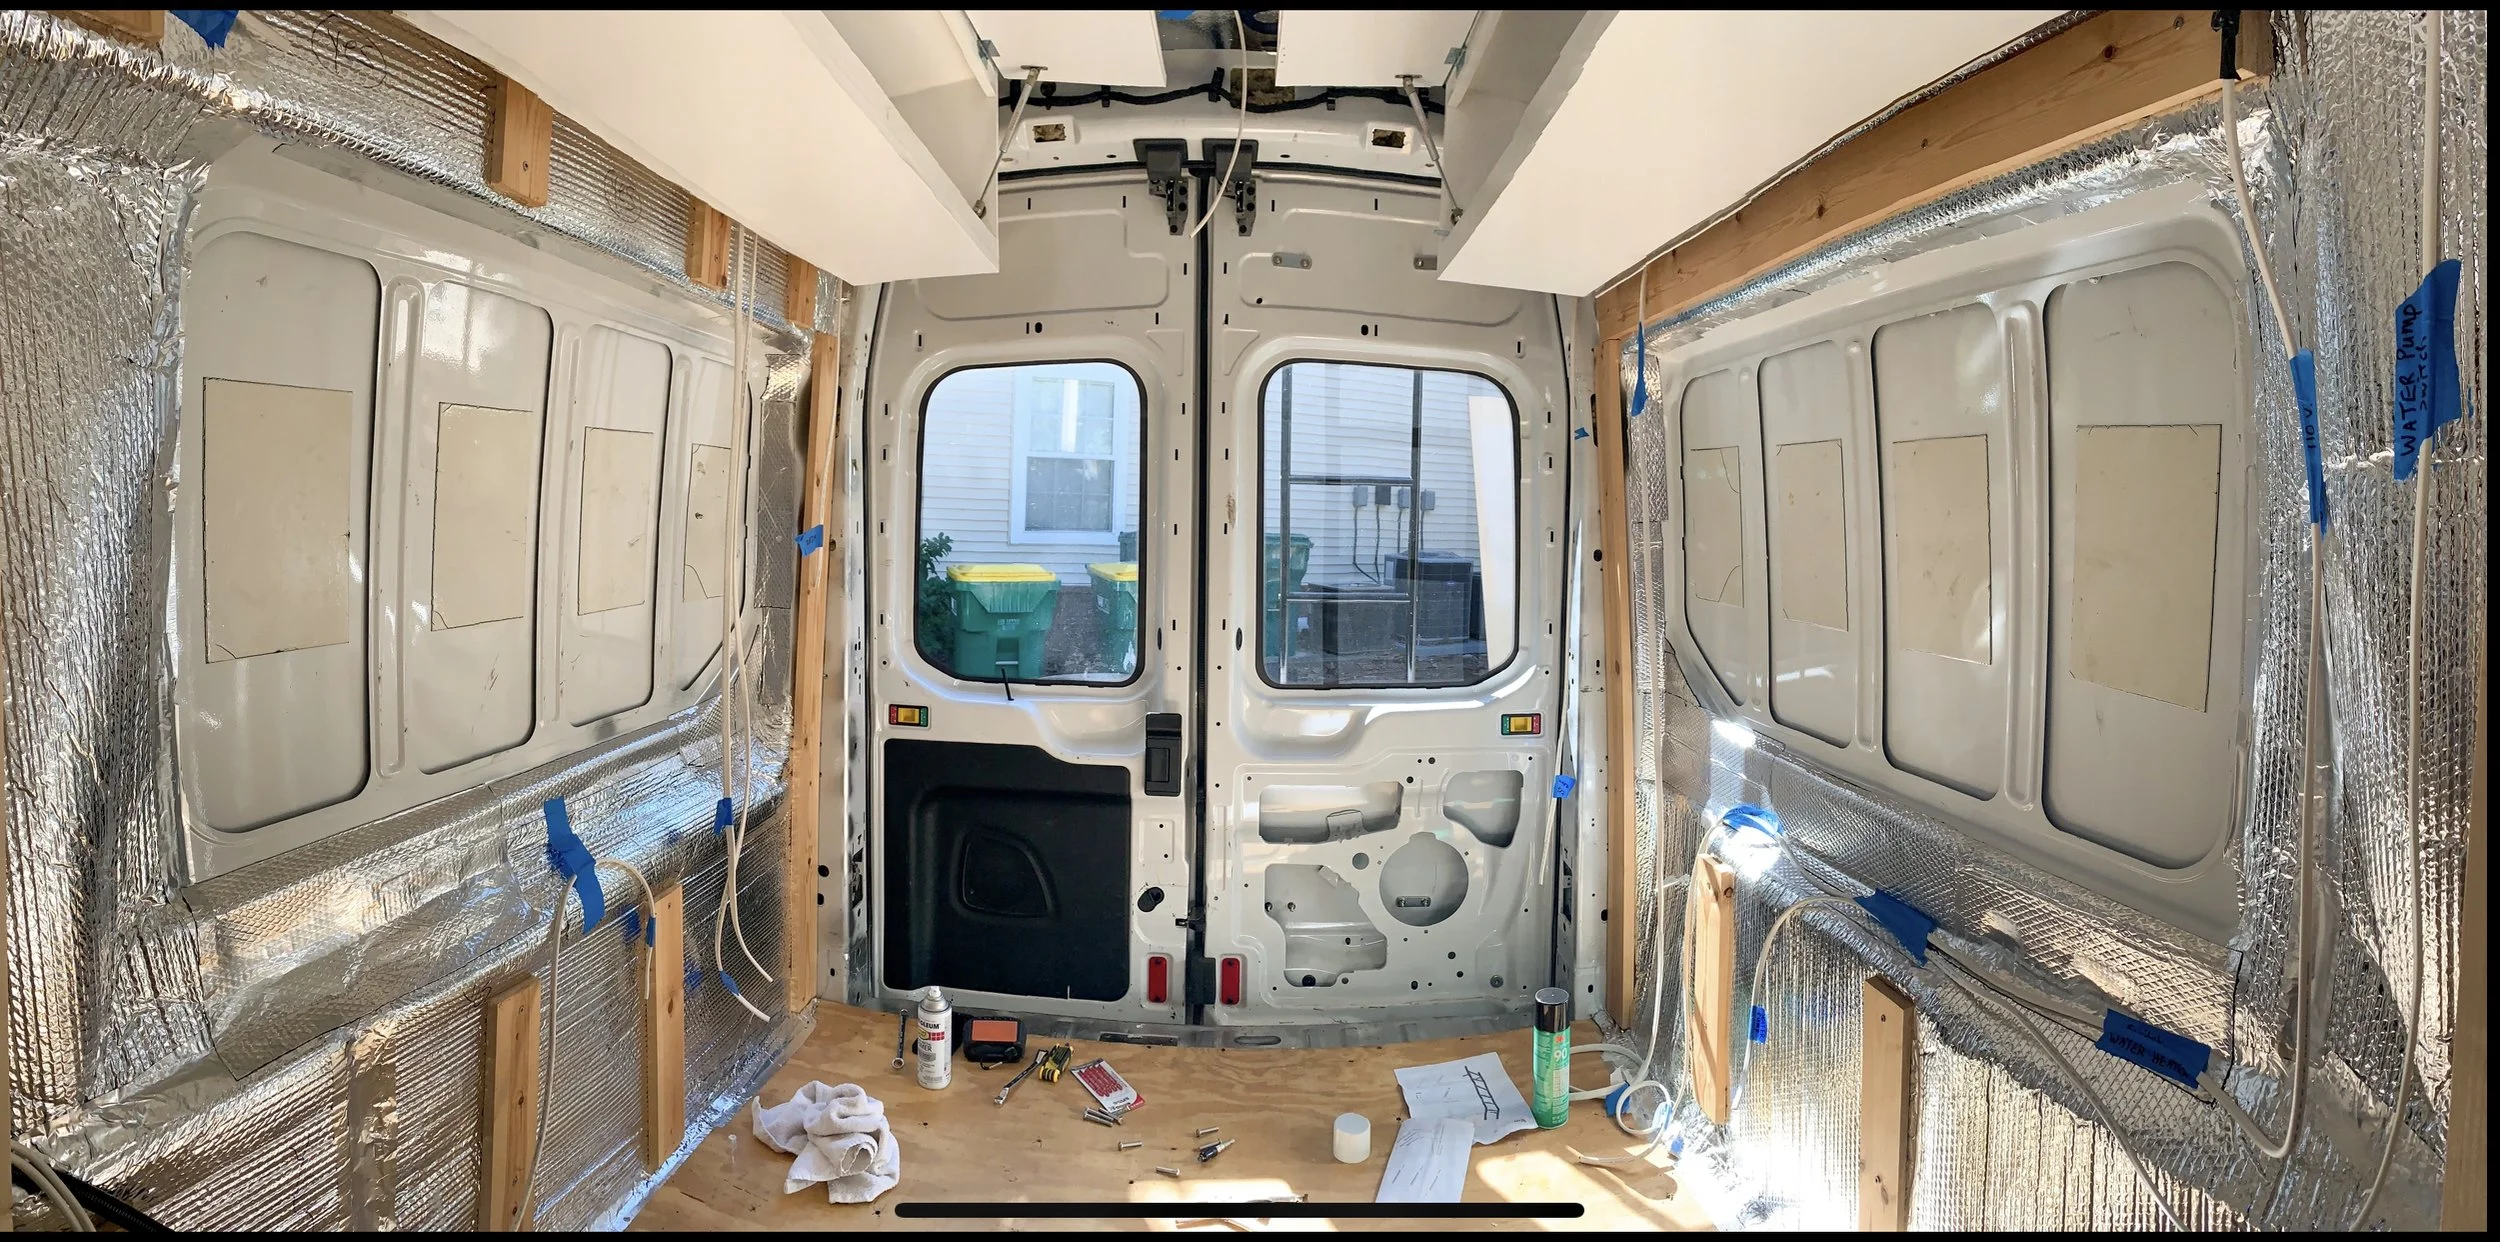
Now that you have all the holes cut you can do your insulation. Logan and I did wool and it was very easy to put in all the crevices and we used the foam boards for the ceiling and on the walls also. Basically you just want to cover as much as you can.
Step 7- Furring strips
Furring strips is another step that it very important. Think of it like studs in a house. Its the base for a house and what holds the walls and other things up like cabinets. Well in a van its called furring strips and you want to put this everywhere. The walls for your cabinets to attach to and the walls. You want it on the ceiling so your upper cabinets will also have another way to hold them up and the furring strips will also hold up your ceiling. You even want furring strips on the floor so your plywood can have something to attach to.
Step 8- Pre Wire
Pre wiring is also important and goes back to your layout step because you want to run all your wire for your outlets, puck lights, water pump, water heater, and any other wires you need . I strongly recommend you get help with this step because its a lot and if you don’t know anything about electricity it is very dangerous. I reached out to an electrician that builds vans so if you need help email me and I will give you his contact information. Bridgesadventures@gmail.com
Step 9- Framing for shower
Ok so if your wanted a shower this is where you get to go under your van and have a good hard look around and see where you can drill a hole and won’t hit anything for your shower water to drain into your grey water tank. This step was stressful because once you start build ing this its for the most part going to be set there. So I recommend just making sure you measure over and over so you don’t make the mistake we did. We had to make our shower bigger than what we planned because when we went to drill for the hole we where going to hit a stud under the van. In the end it worked out but it was a pain in the ass.
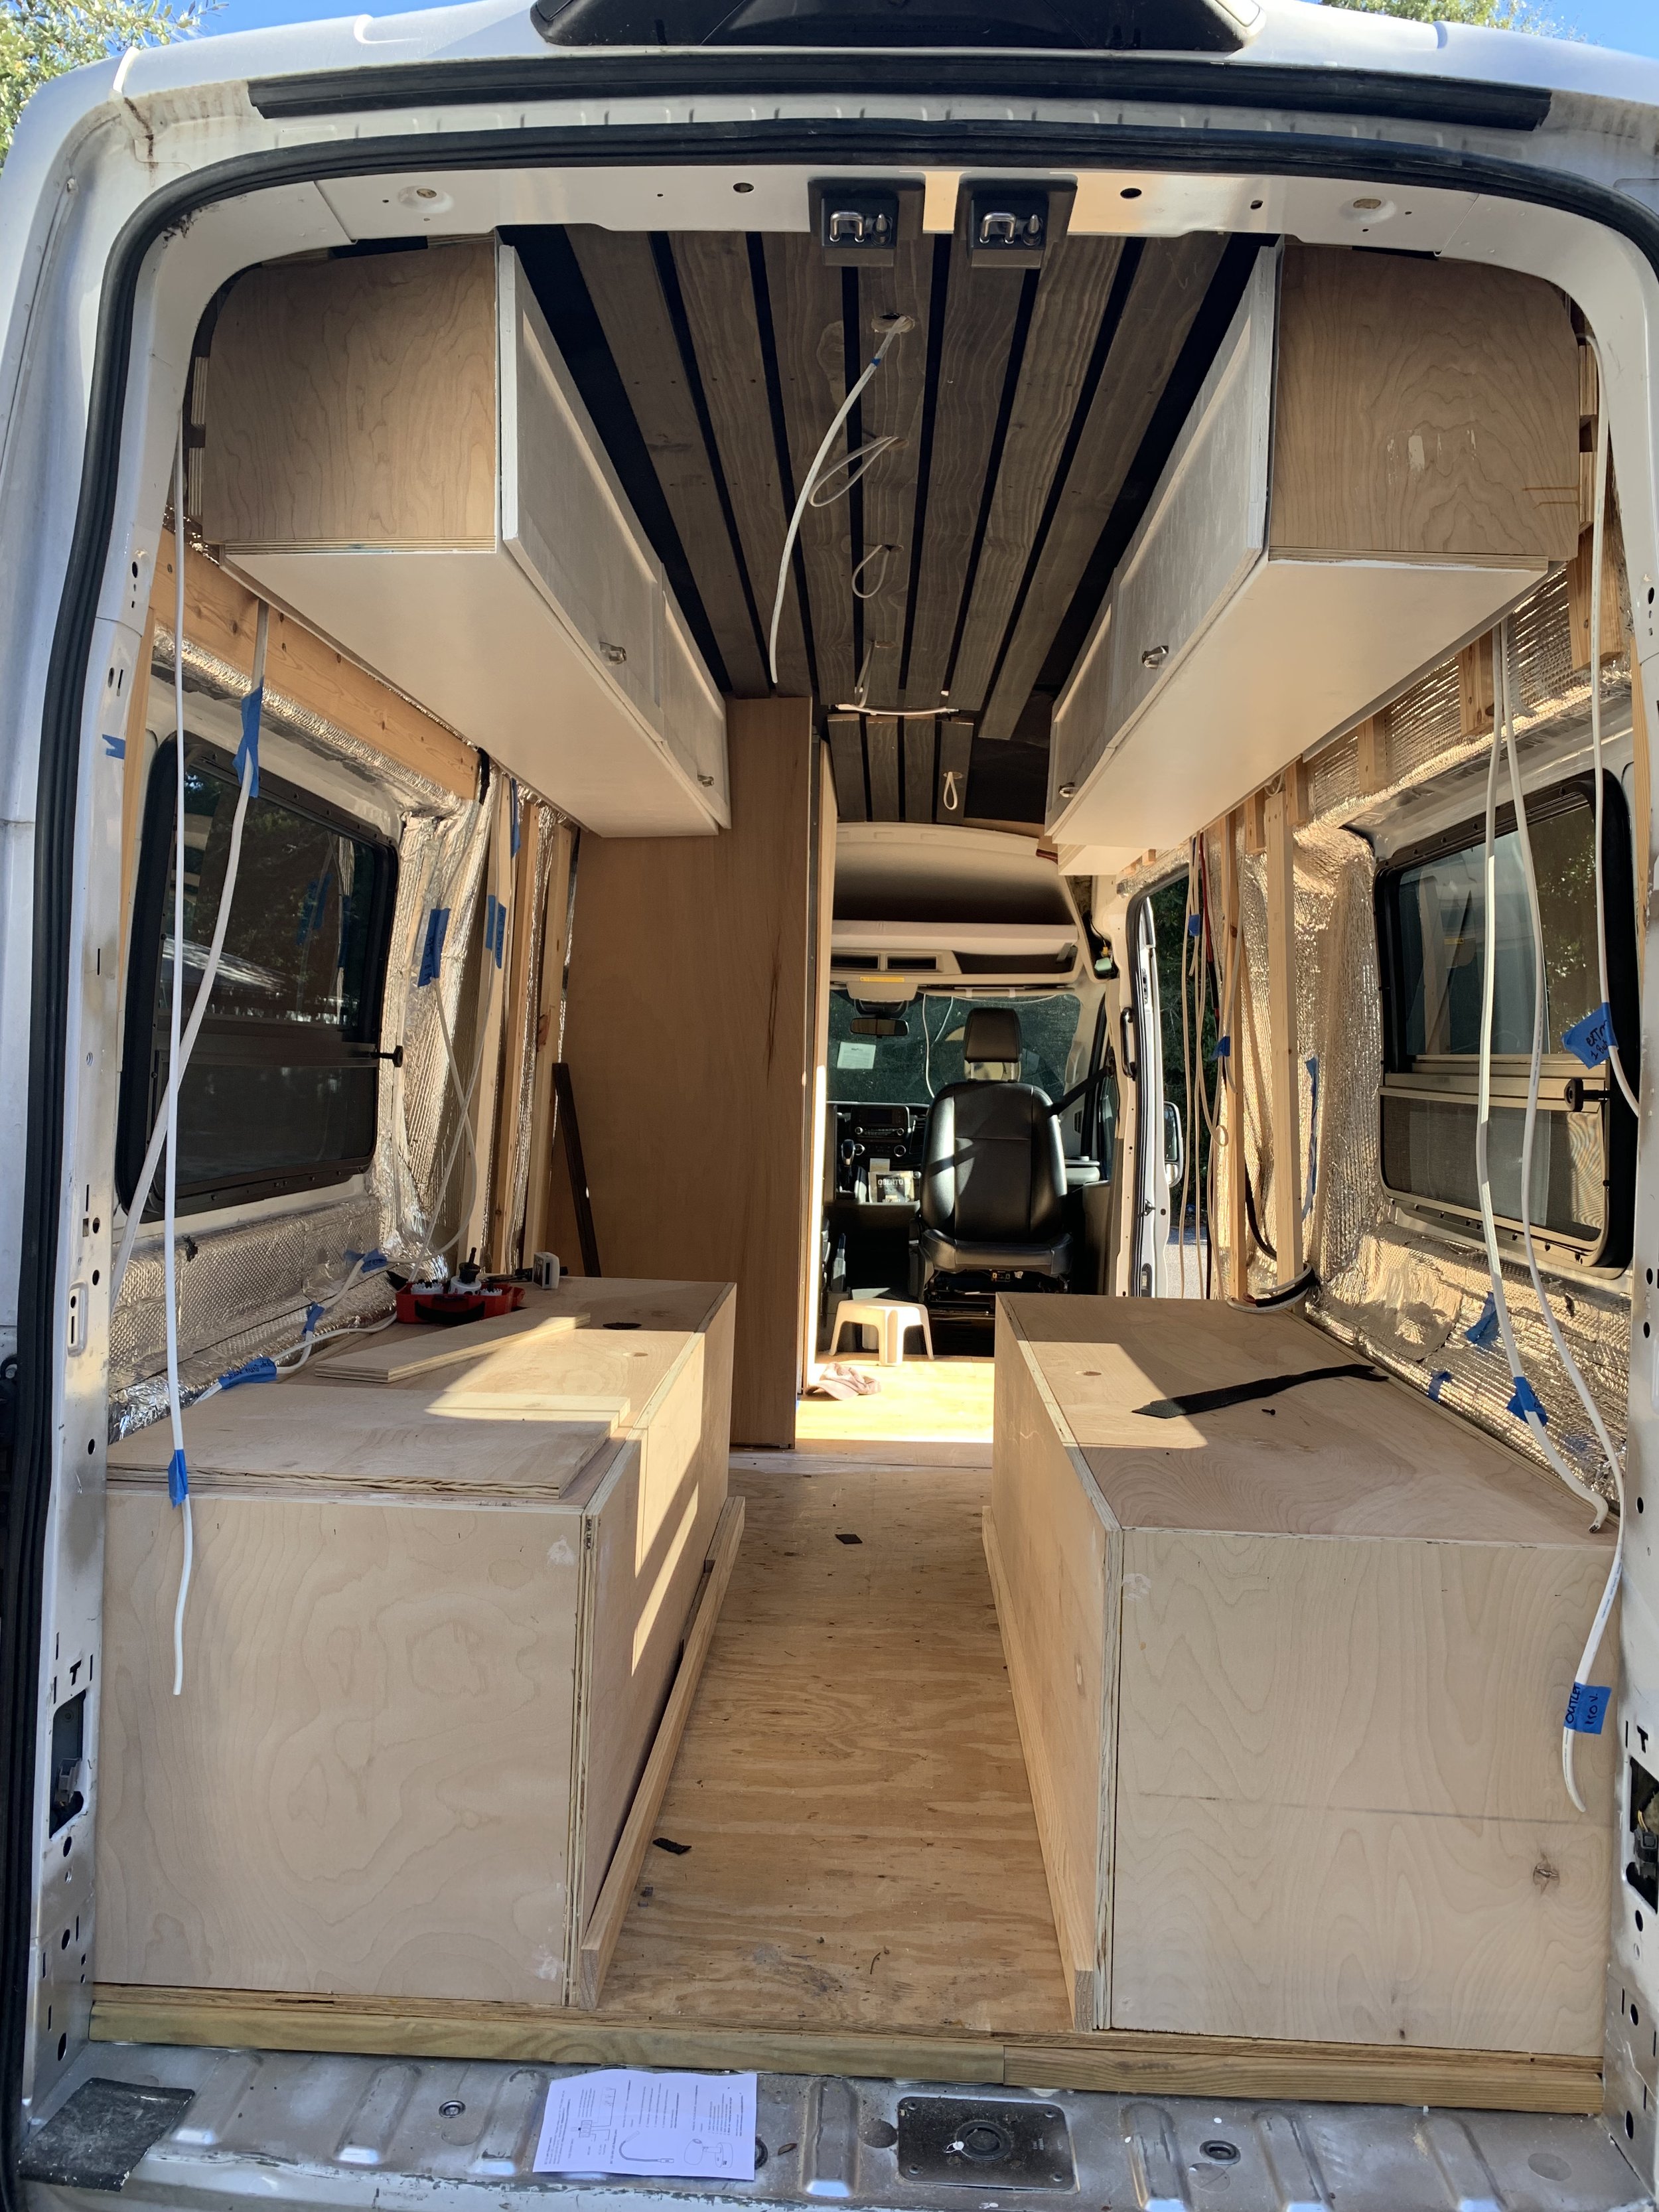
Step 10- Start building upper cabinets
Upper cabinets… I remember this being so overwhelming at the time because it was one of the first thing I had actually built from scratch. There are so many different ways to make upper cabinets and the way we did ours was very sturdy but I think a little over kill. But hey they work amazing. This is also something you want to decide how many you want and where you want them. you can do both sides like his and hers and have them run all the way across or just have one long one on one side. Or you can even do a stand up dresser. Its totally your choice.
Step 11- Ceiling
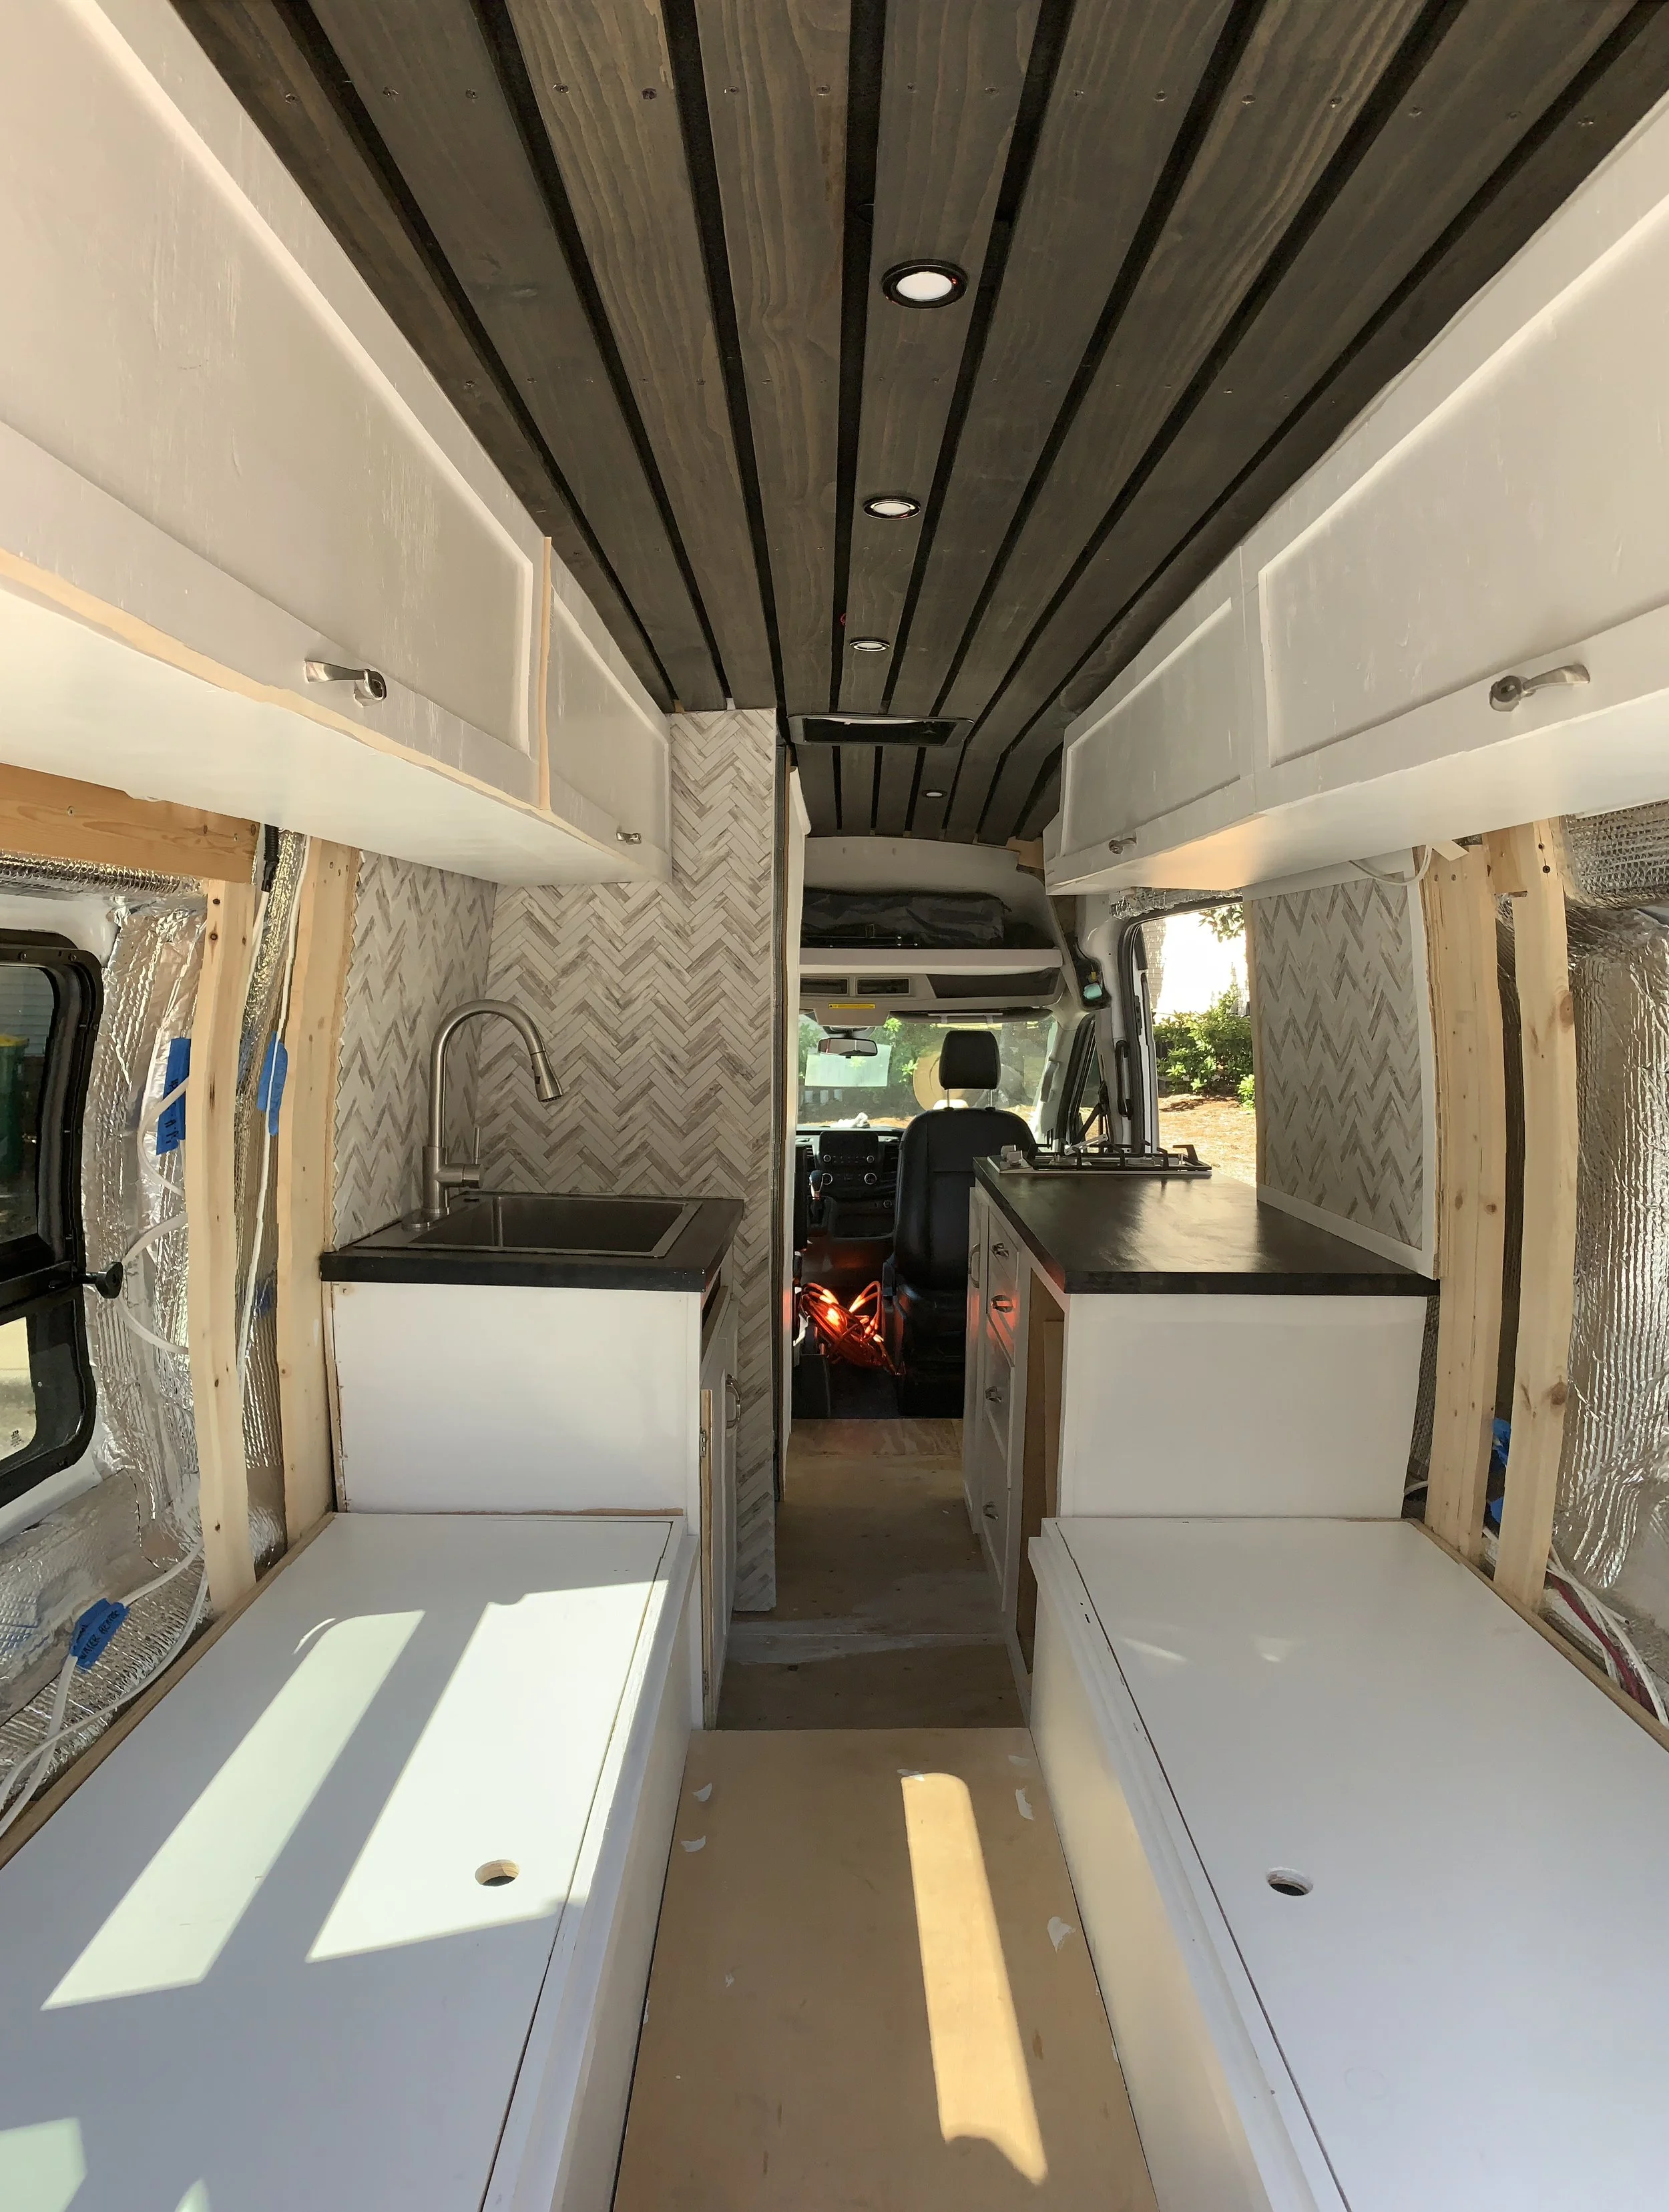
This step was so satisfying because once we got the upper cabinets up we went ahead and put up the ceiling on the open area. Some people put up the ceiling on the entire area and then put the cabinets over it but we wanted to save on buying so much products so we didn’t do that. But once the upper cabinets and ceiling was up it looked so cool and we felt like we had accomplished so much all though we had a long way to go.
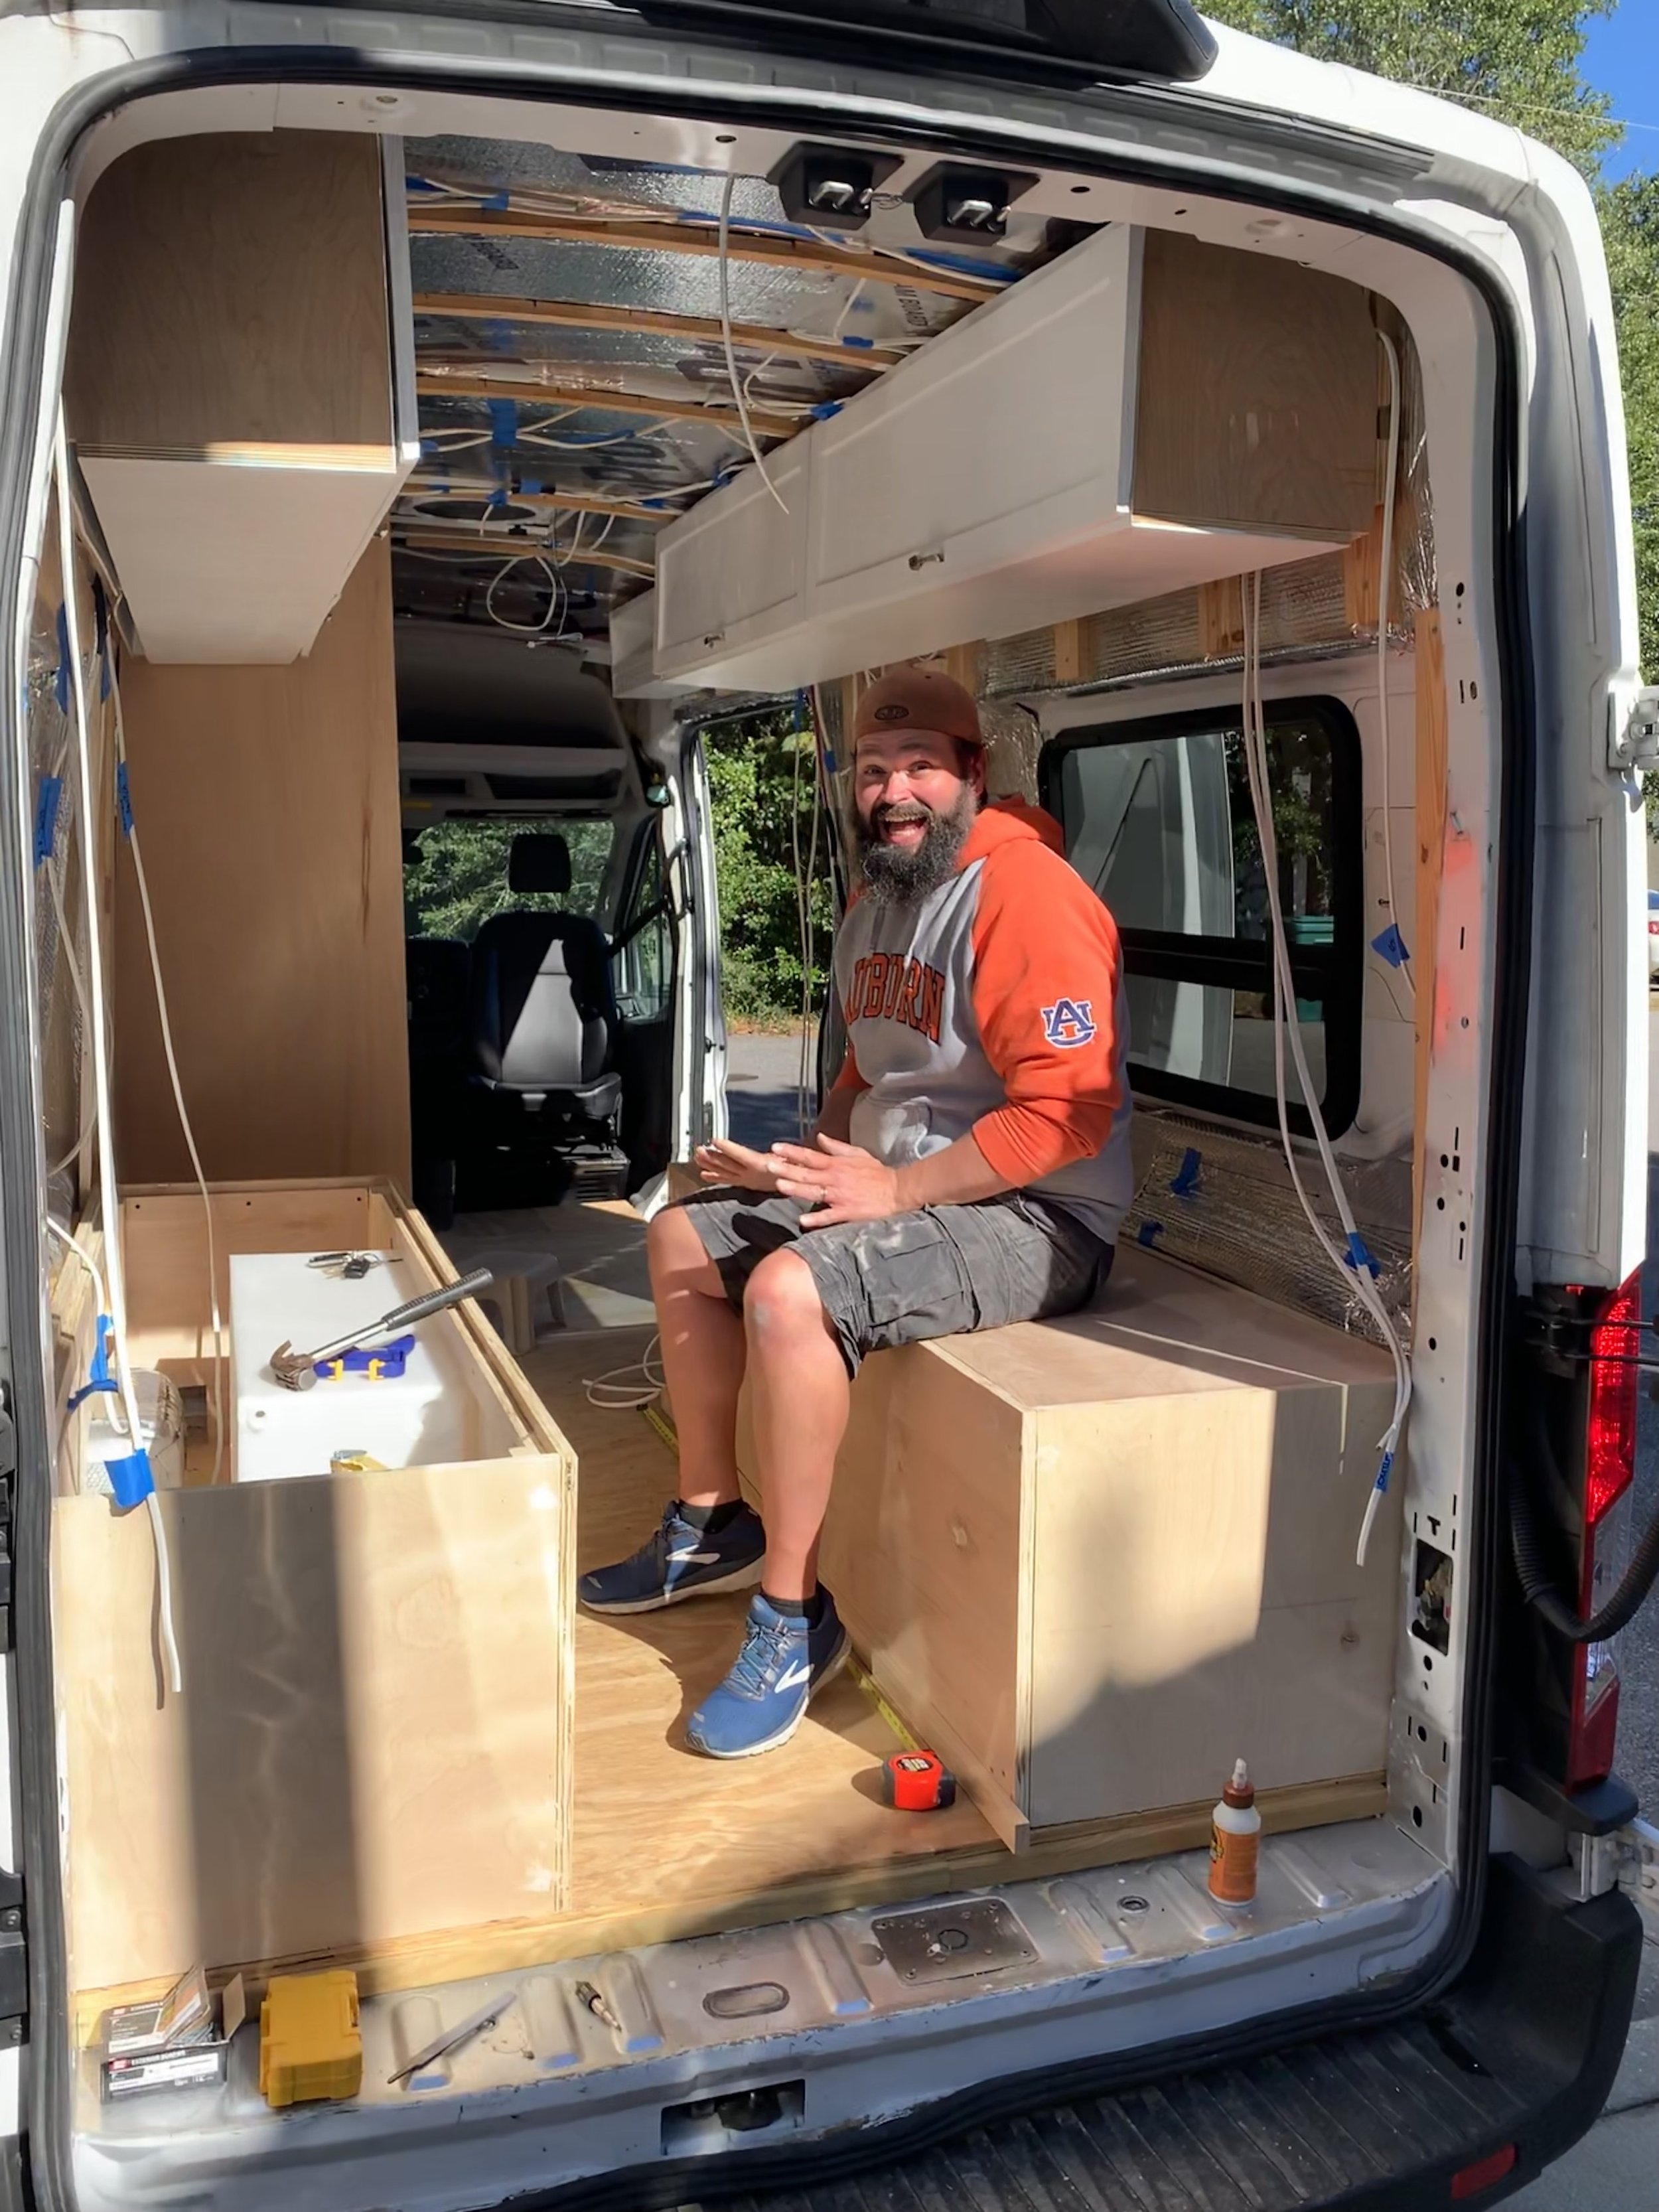
Step 12- Start building bed frame
Now on to the bed. One of the most important parts and largest part in your van. You have a few different options for this. The 2 most important is called a fixed bed and a dinette bed. The fixed bed is well always in bed mode. You can’t convert it. The PRO with this is you have the entire under part of the bed for storage. Everyone calls this there garage. This is great if you have a lot of hiking or winter equipment or a surf board or even bikes. You can store all this under your bed and don’t have the hassle of it out in the living part of the van. The CON to a fixed bed is its normally large and takes up a ton of room.
The other options is the one we went with and its called a dinette bed. In dinette mode it looks like a U shaped couch with a table in the middle. And we love this because it really opens the space up and makes it feel bigger and you can have some what of a normal dinning room table and just a place to hang out. We love this because we can fit about 6 people around the table and play games or have dinner. The CON is every time you go to bed you have to convert it to bed mode. Not the biggest hassle but sometimes after a late night with friends you just want to lay down and go to sleep. But over all If I had to do it again I would still do the dinette bed because in my opinion its way better.
Step 13- Start building kitchen ( sink & cabinet, kitchen counter with drawers)
At this point you're almost there. You have some good structural stuff built and almost completely done. Now its time to start thinking about your water and kitchen setup. Thinking about how and where your plumbing will be and run is important and now you have to build the cabinets for the sink and kitchen. In your kitchen are you going to have a propane cooktop or induction or just pull out a Coleman stove every time you cook. Also have to build drawers and find a place your wanting your fridge.
Plumbing is going to go in hand with this because once you put your sink in your wanting to run all your water lines for you shower also.
Step 14- Walls
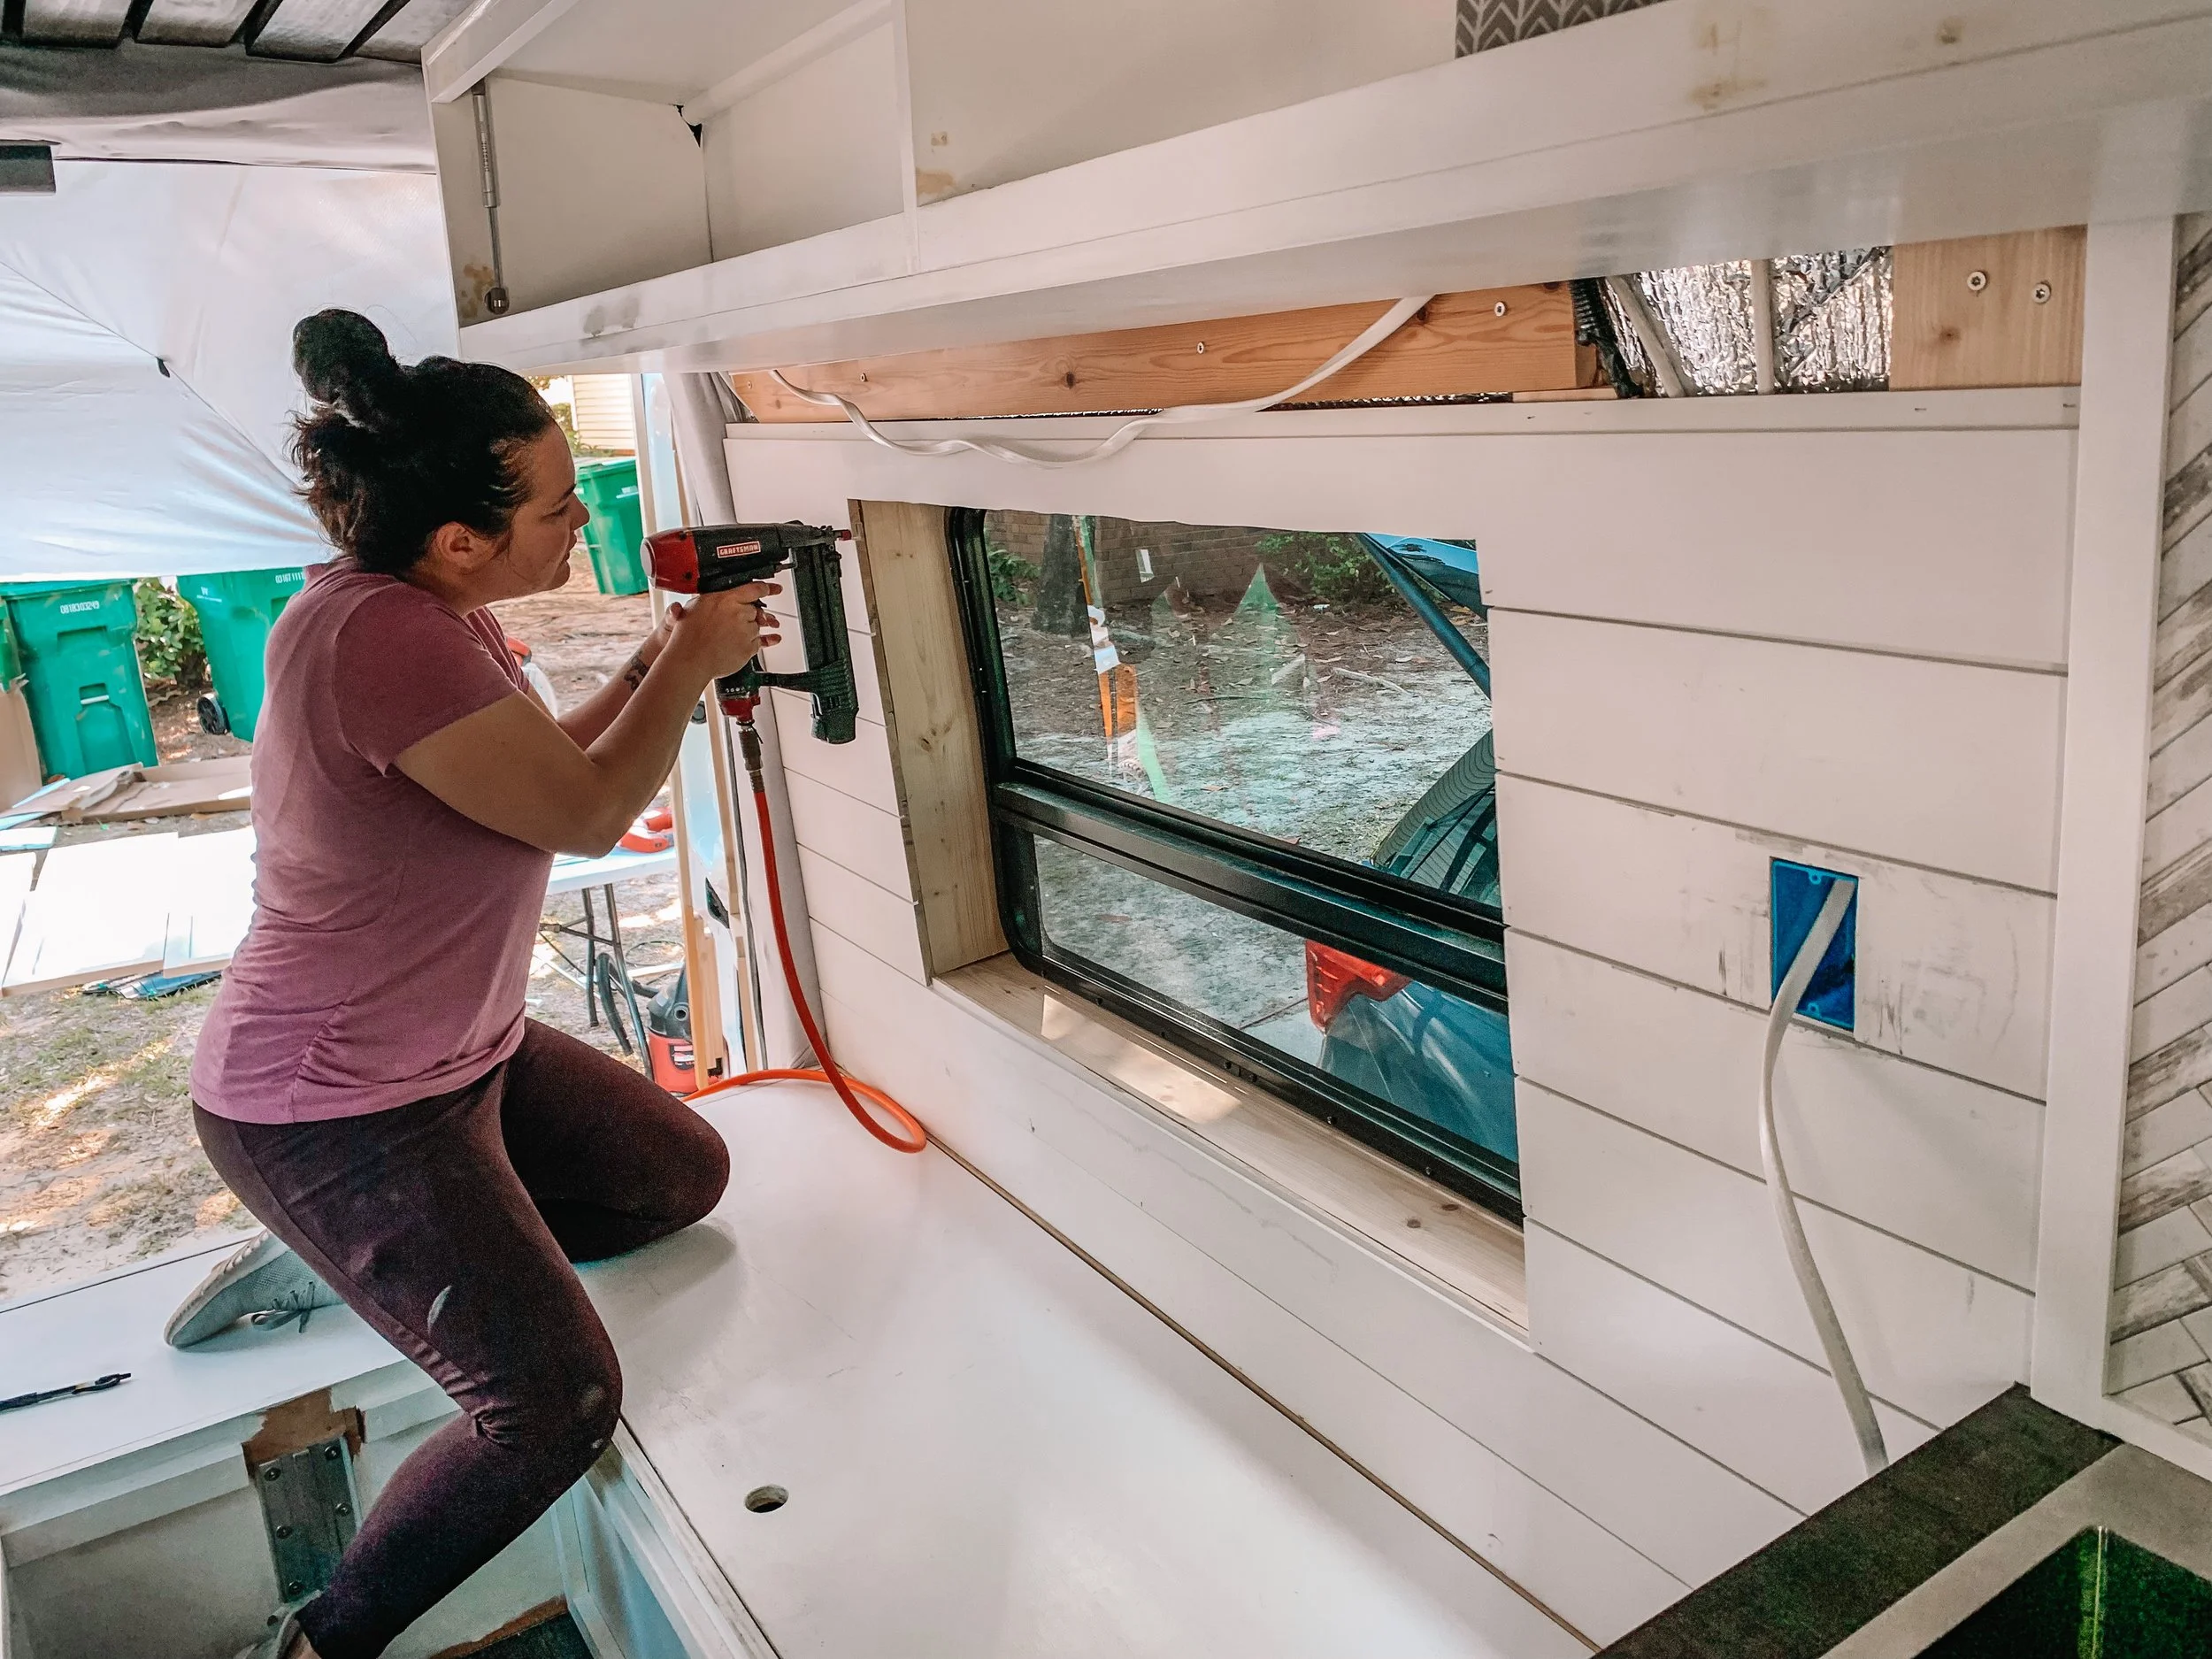
Well I think we are at the point where you can put up your walls. Or at least most of it if you want. Because you have already done your pre wiring and you already have your outlets set up and your puck lights up going into your ceiling. So now you can put up your walls and this is when it really starts to come together.
Step 15- Electrical and Solar
Now if you're completely overwhelmed at this point by everything I completely get it. At this point I was so so ready for the build to just be over with. All I will say for this step is to hire a professional to help you with the electrical. Just do it! Even if you have them on a call to help guide you through this do that. Its not worth setting your van on fire.
FINAL STEP - Finishing Touches
This is the fun part for me. Painting, picking out our mutual for our cushions, picking backsplash for our kitchen and just decorating in general. This is when everything comes together and your style really shows. Have fun with this and now time to hit the road!
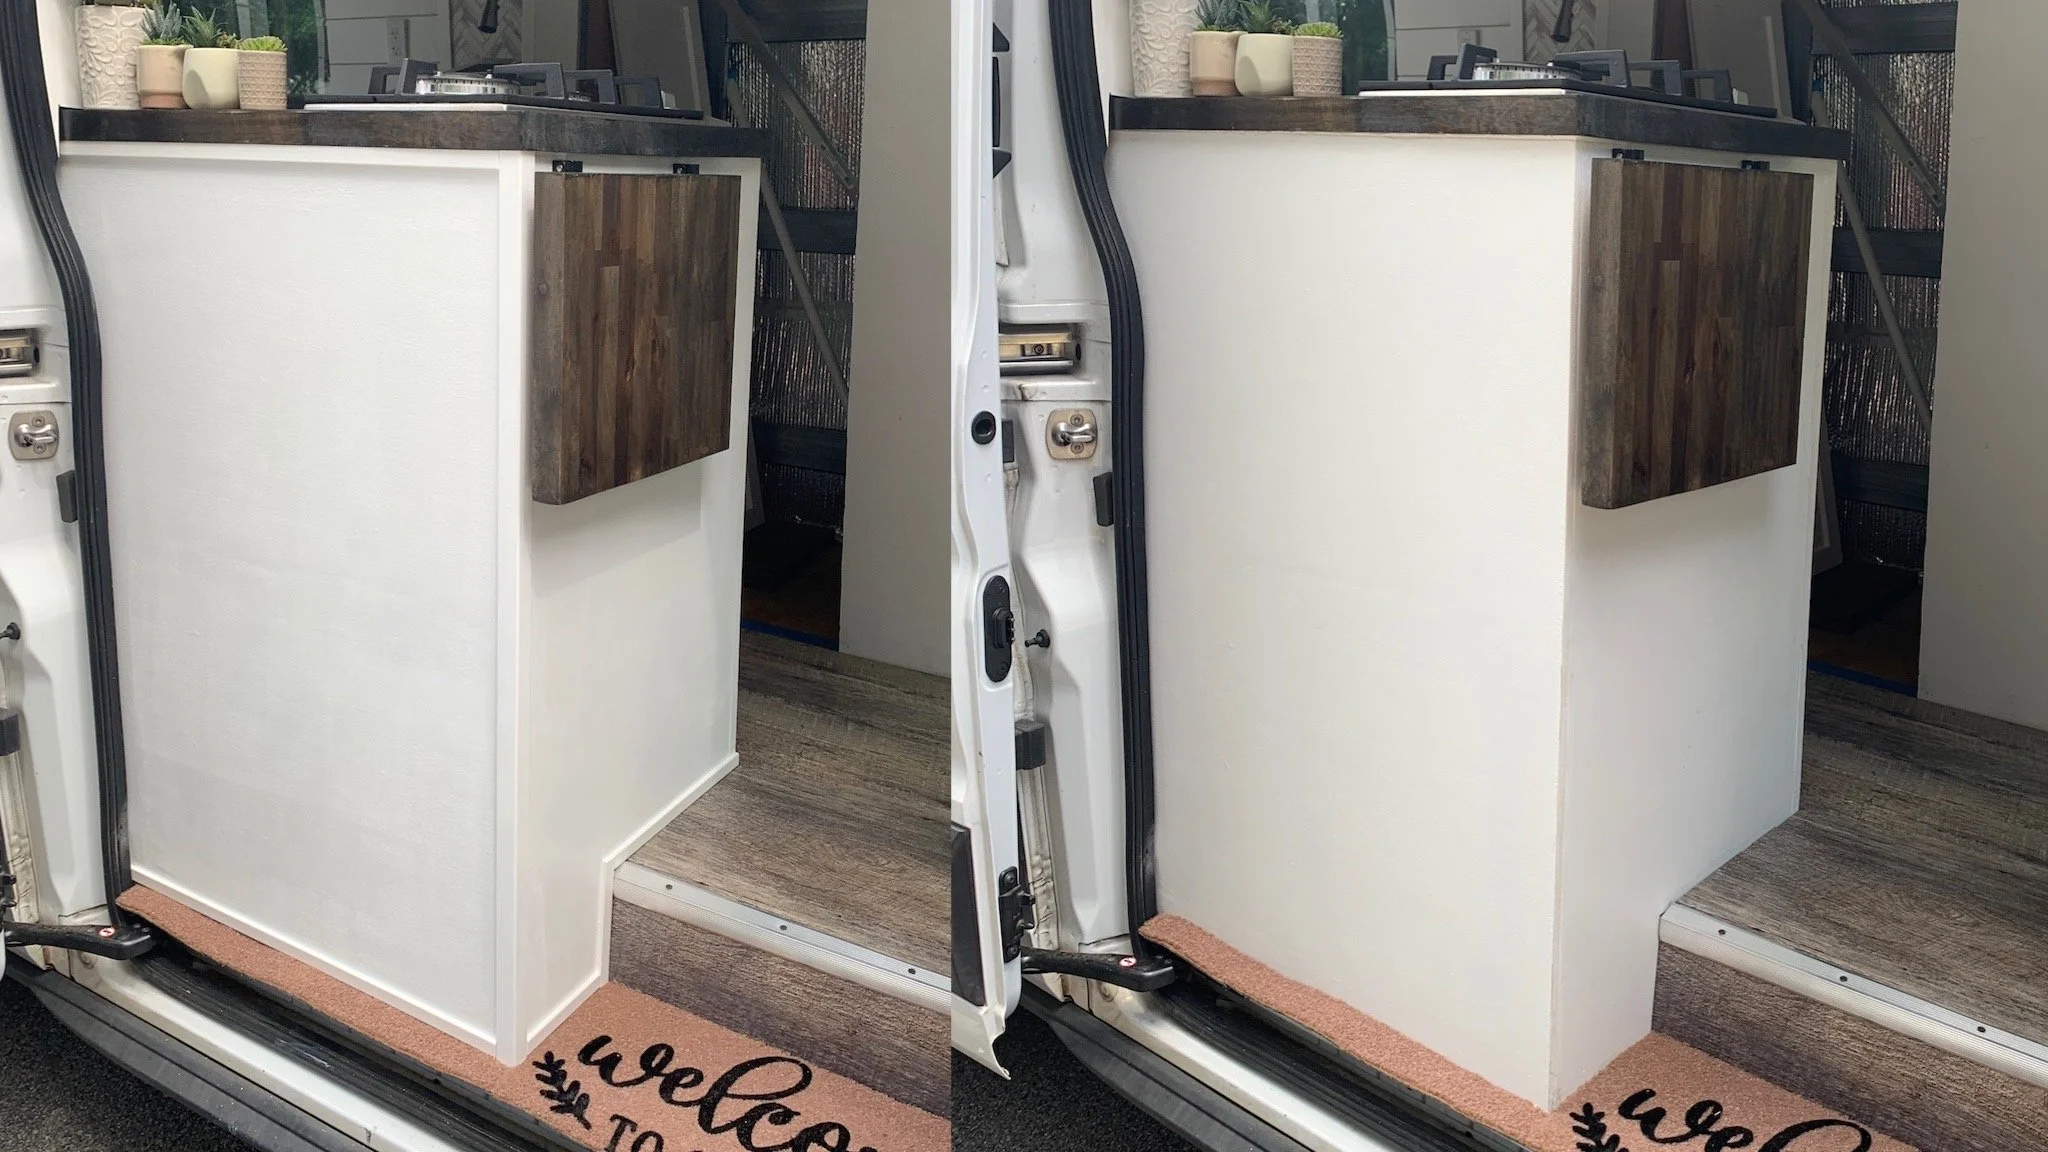
AFTER BEFORE
Please keep in mind these steps I gave you where just what we did and you can definitely change or add things as you please. I remember when I was doing research it would have been nice to have some kind of starting point and steps to go by. So I really hope this helped and good luck with your build.
